Creating Your First Recipe
Creating Your First Recipe
Once you've mounted the camera and connected to the OV80i software, follow the steps below to create your first recipe.
Creating a New Recipe
Step 1: Access Recipe Creation
From the All Recipes page, click + New Recipe in the top-right corner.
![]()
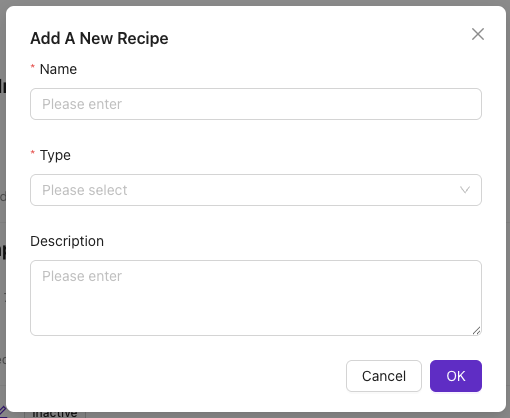
Step 2: Configure Recipe Details
The Add A New Recipe modal will appear.
Required Fields:
- Name - Enter a Name for the Recipe (required). This name will appear on the All Recipes page.
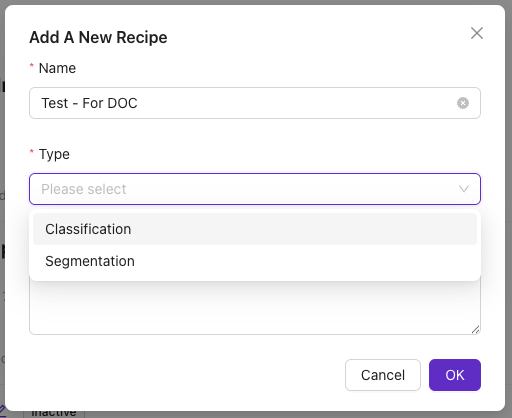
- Recipe Type - Select the Recipe Type from the drop-down menu (required). See below for help selecting the Recipe Type.
Optional Fields:
- Description - Enter a Description for the Recipe (optional). This will appear on the All Recipes page and at the top of the Recipe Editor page.
Step 3: Finalize Creation
Click OK to create the new Recipe.
The new Recipe will be listed on the All Recipes page (Inactive).
Should I Select Classification or Segmentation?
Classification Recipe: Create a Classification Recipe to train a deep-learning model to categorize an image into different classes based on its visual characteristics.
Segmentation Recipe: Create a Segmentation Recipe to train a deep-learning model to take an image and segment classes at a pixel level based on labeled defects. By operating at a pixel level, this tool is useful for inspections that need finer-grained control over labels.
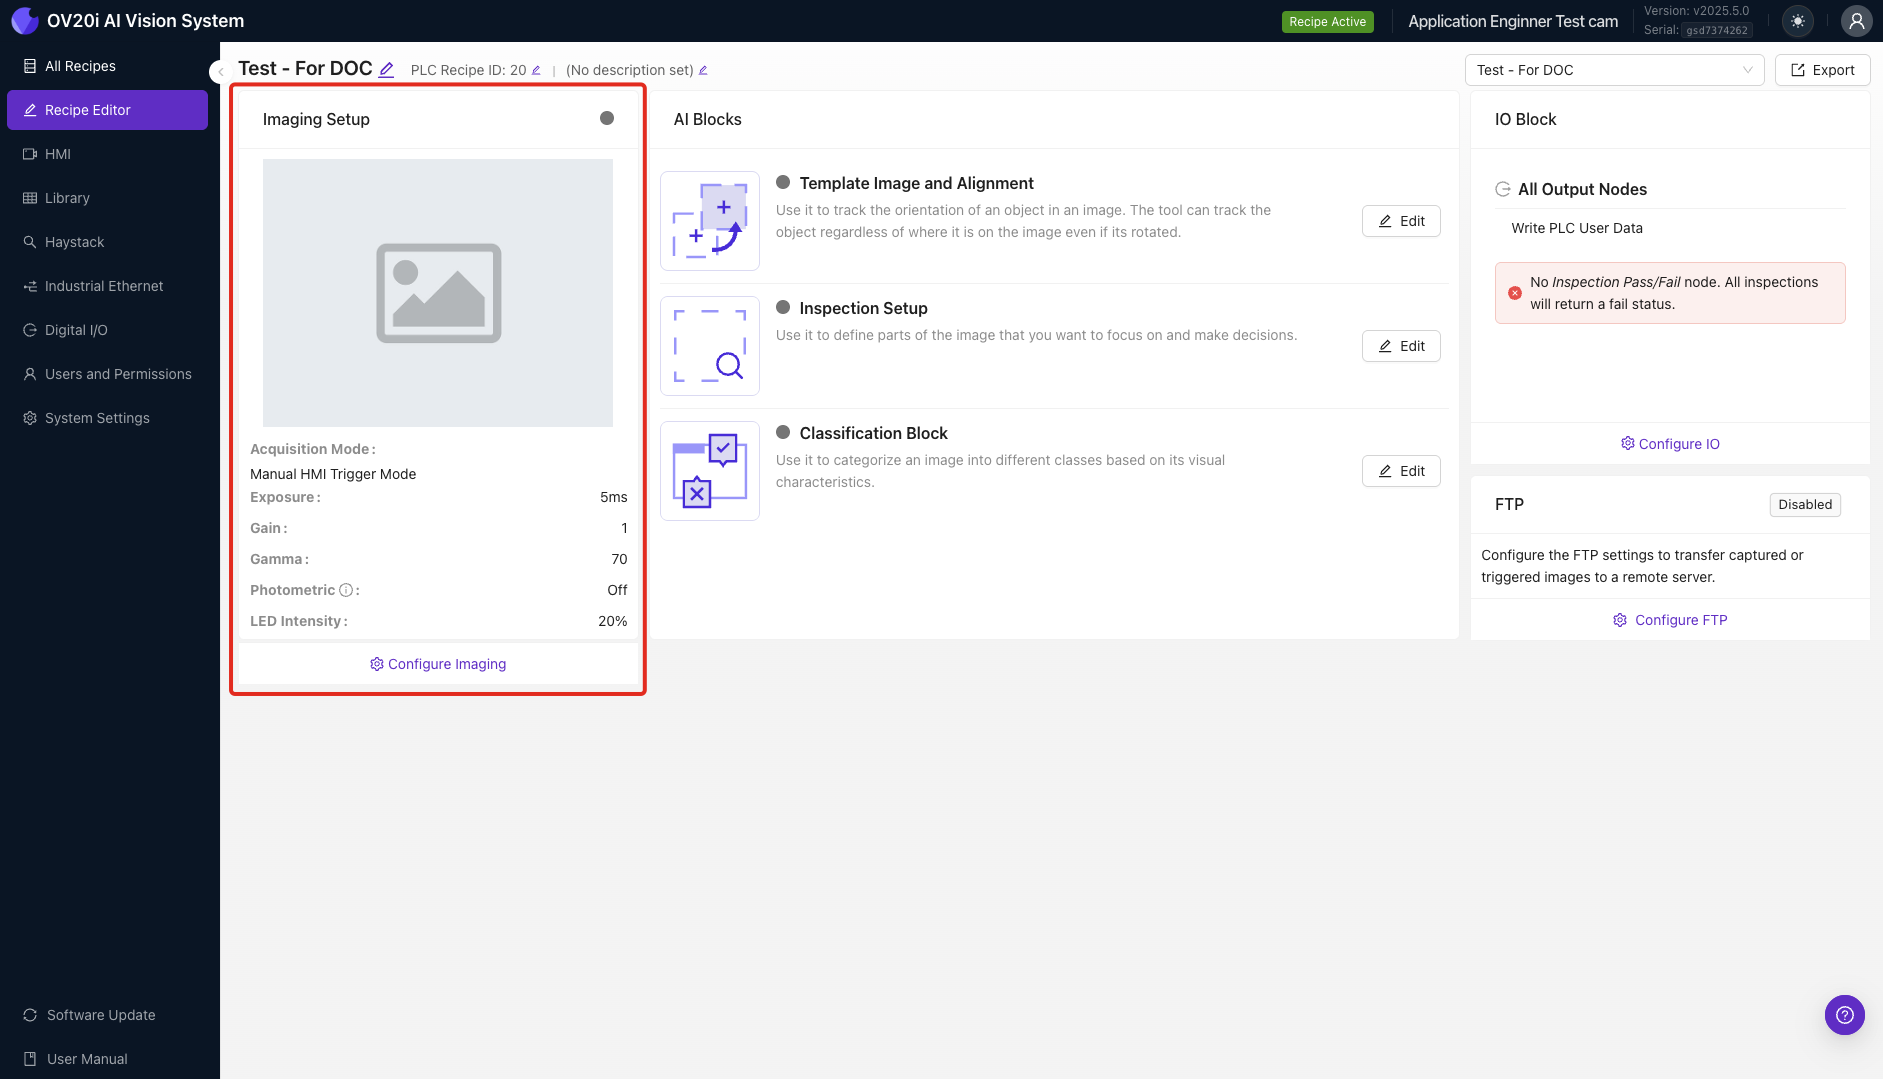
Open the Recipe Editor
To edit the Recipe, the Recipe needs to be active.
Activation Steps:
-
Select Actions > Activate to the right-hand side of the Recipe
-
Click Activate to confirm

- Click Edit to open the Recipe Editor
- Click Open Editor to confirm
![]()
💡 Note: For more information about the Recipe Editor, see [Recipe Editor].
Imaging Setup
In this section, you'll set up the camera to achieve a clear image of the object being inspected.
💡 Note: Imaging Setup is the same for Classification and Segmentation Recipes.
Configuration Steps:
- Click Configure Imaging at the lower left-hand side of the page
- Place the object being inspected in the camera's field of vision, using the live preview to verify it's in shot
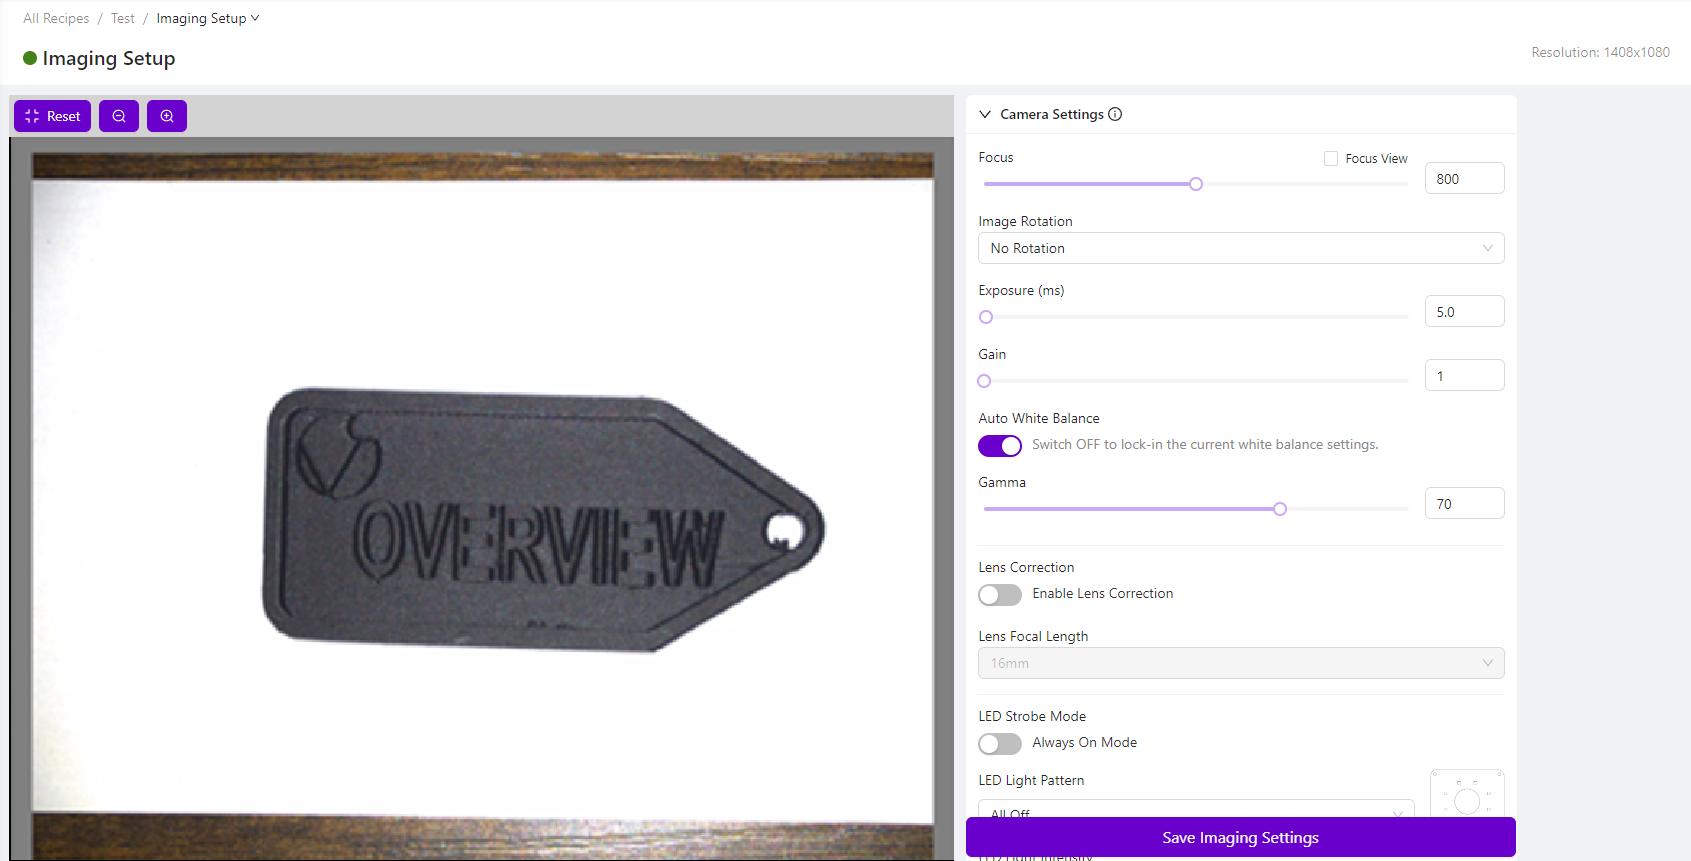
- Adjust the Camera Settings on the right-hand side as required to achieve a clear image of the object
- Click Save Imaging Settings at the bottom-right of the page
💡 For More Info: For more information about Imaging Setup options, see Imaging Setup Fundamentals.
Continue to Template Image and Alignment.
Template Image and Alignment
In this section, you'll capture a Template Image and have the option to configure an aligner.
💡 Note: Template Image and Alignment is the same for Classification and Segmentation Recipes.
Step 1: Navigate to Template Setup
From the Imaging Setup page, use the breadcrumb menu to select Template Image and Alignment. Alternatively, select Template Image and Alignment from the Recipe Editor.
![]()
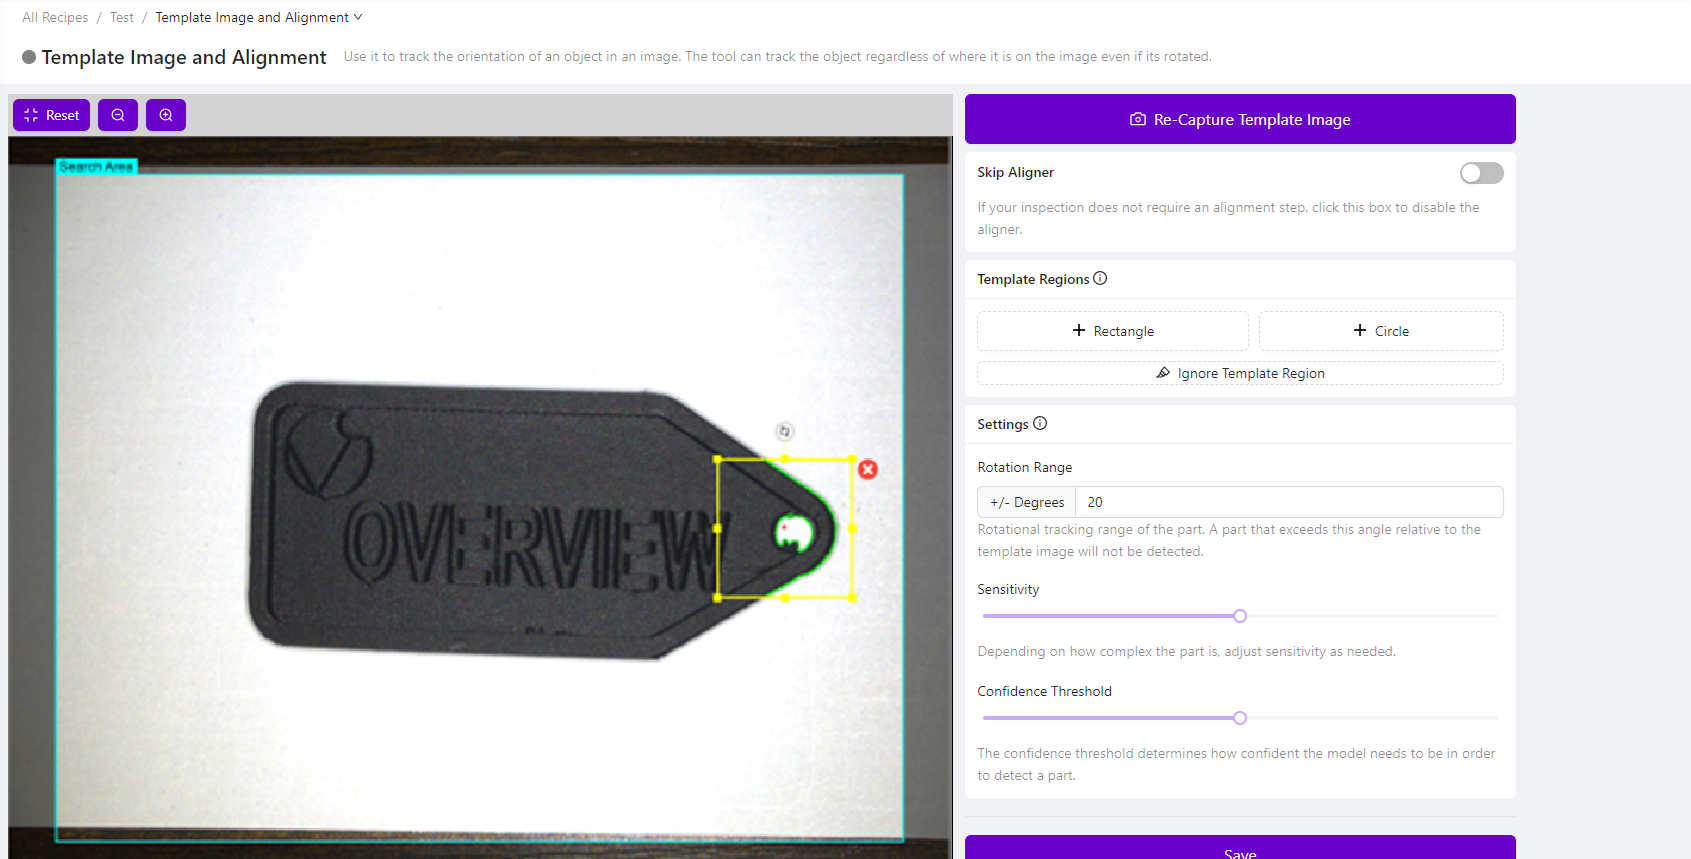
Step 2: Capture Template Image
Select Capture Template Image.
💡 Important: Once the Template Image has been captured, the preview pane (on the left-hand side) will display the Template Image, not a live preview of the camera's field of vision. To view a live preview from the camera, scroll down the page and select Live Preview Mode. To retake the Template Image, ensure the live preview is not enabled and click Re-Capture Template Image.
Step 3: Configure Aligner (Optional)
If alignment is needed:
- Under Template Regions, select + Rectangle or + Circle (whichever matches the shape of the object being inspected)
- Reposition/resize the region to fit the object being inspected
- Under Settings, set the Rotation Range to 20 degrees. This will allow the aligner to locate the object if it is rotated up to 20 degrees compared to this Template Image
- If required, adjust the Sensitivity and Confidence Threshold
- Click Save
If alignment is not needed: If your application doesn't require an aligner, toggle the Skip Aligner option, click Save at the bottom of the page.
💡 For More Info: For more information about the Template Image and Alignment page, see [Template Image and Alignment].
Continue to Inspection Setup.
Inspection Setup
In this section, you'll configure what you want the camera to inspect (Inspection Types) and where on the object you want it to perform the inspection (Inspection Regions).
💡 Note: Inspection Setup is the same for Classification and Segmentation Recipes.
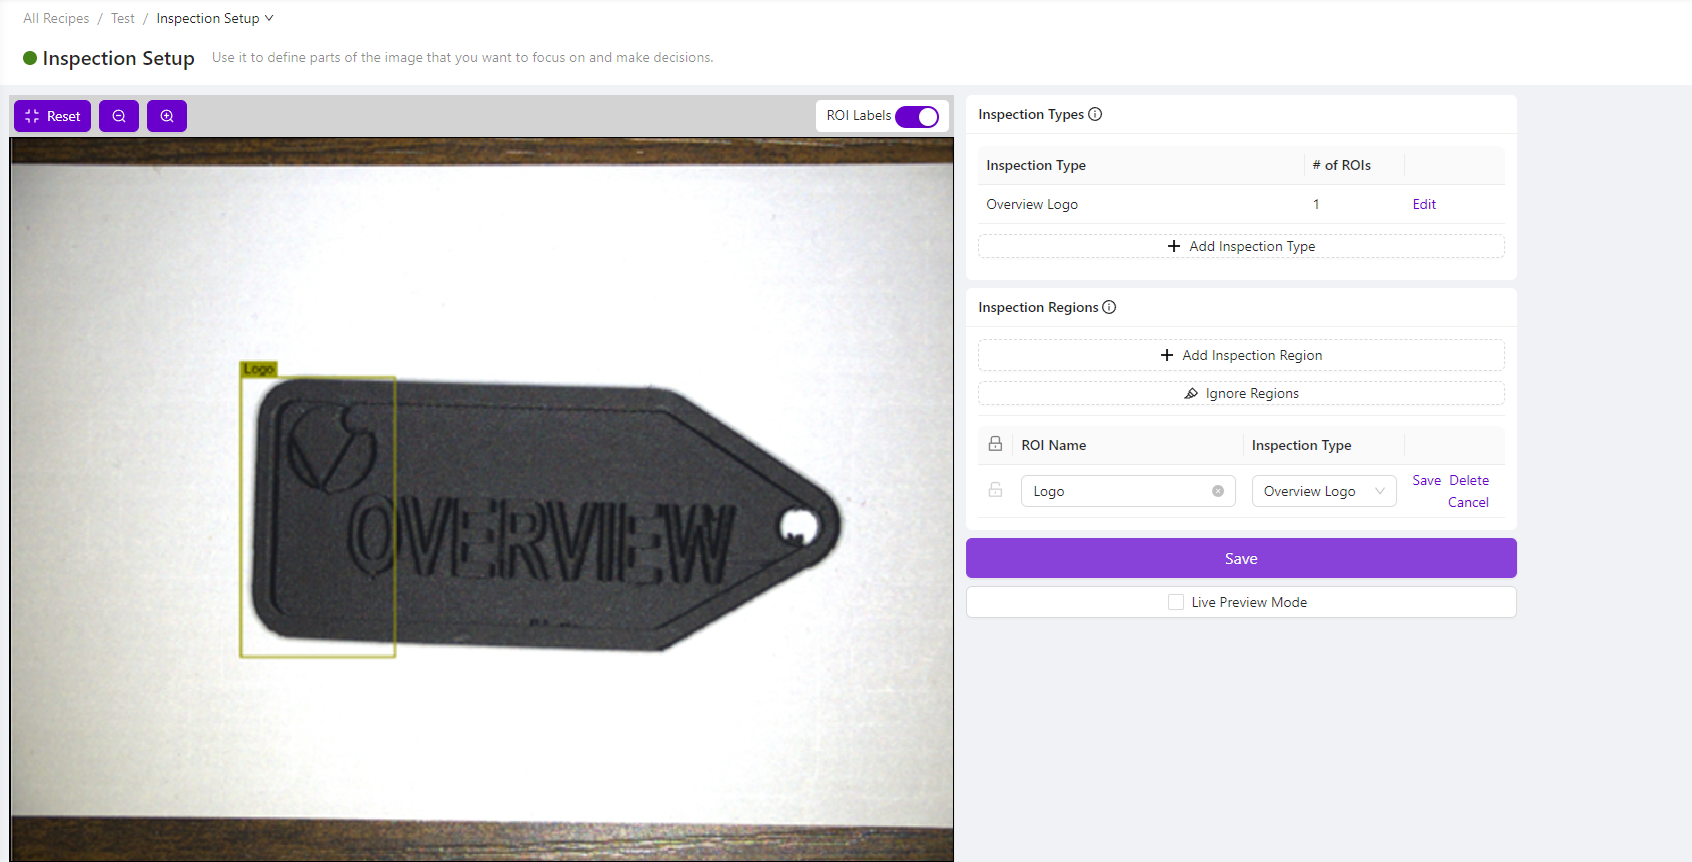
Step 1: Navigate to Inspection Setup
From the Template Image and Alignment page, use the breadcrumb menu to select Inspection Setup. Alternatively, select Inspection Setup from the Recipe Editor.
💡 Preview Note: The preview pane (on the left-hand side) displays the Template Image, not a live preview of the camera's field of vision. To view a live preview from the camera, scroll down the page and select Live Preview Mode. To add or edit Inspection Types and Inspection Regions, ensure the live preview is not enabled.
![]()
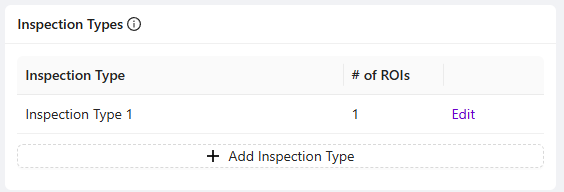
Step 2: Configure Inspection Types
Under Inspection Types, "Inspection Type 1" will appear by default. Click Edit to rename it.
💡 Definitions:
- Inspection Types refer the different types (classes) of inspections being performed and allow you to group visually similar Inspection Regions (ROIs)
- Inspection Regions (ROIs) refer to the area(s) where the inspection should be performed
Step 3: Add Inspection Regions
- Under Inspection Regions, click + Add Inspection Region
- Reposition and resize the yellow box on screen to fit the specific area of the object you want to inspect
💡 Note: By default, the Inspection Region will be named "New ROI". Click Edit to change the name.

Step 4: Finalize Setup
- Add as many Inspection Types and Inspection regions as required for this Recipe
- Click Save at the bottom of the page
💡 For More Info: For more information about the Inspection Setup page, see [Inspection Setup].
Next Steps
If you selected a Classification Recipe type: Continue to Creating Your First Classification Recipe.
If you selected a Segmentation Recipe type: Continue to Using the Segmenter.